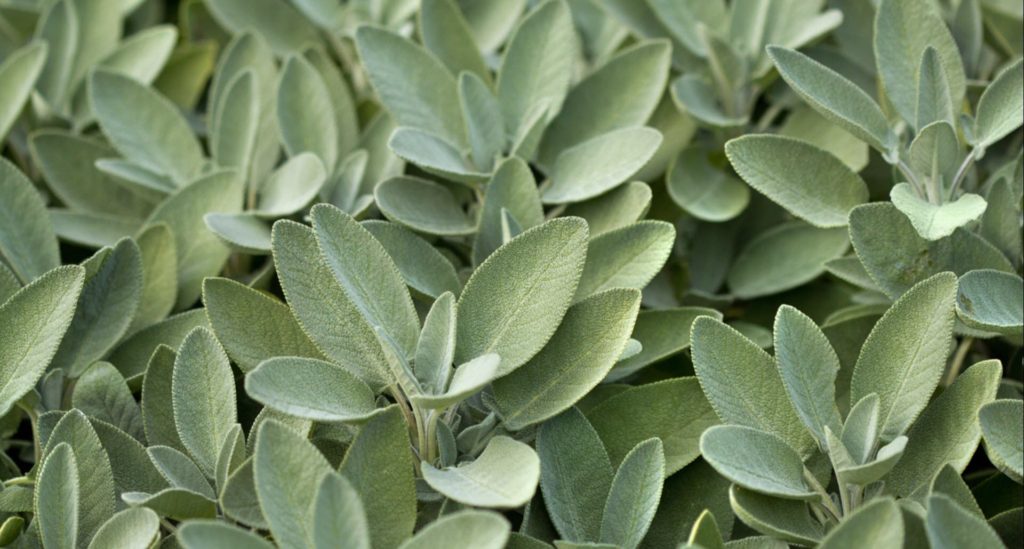
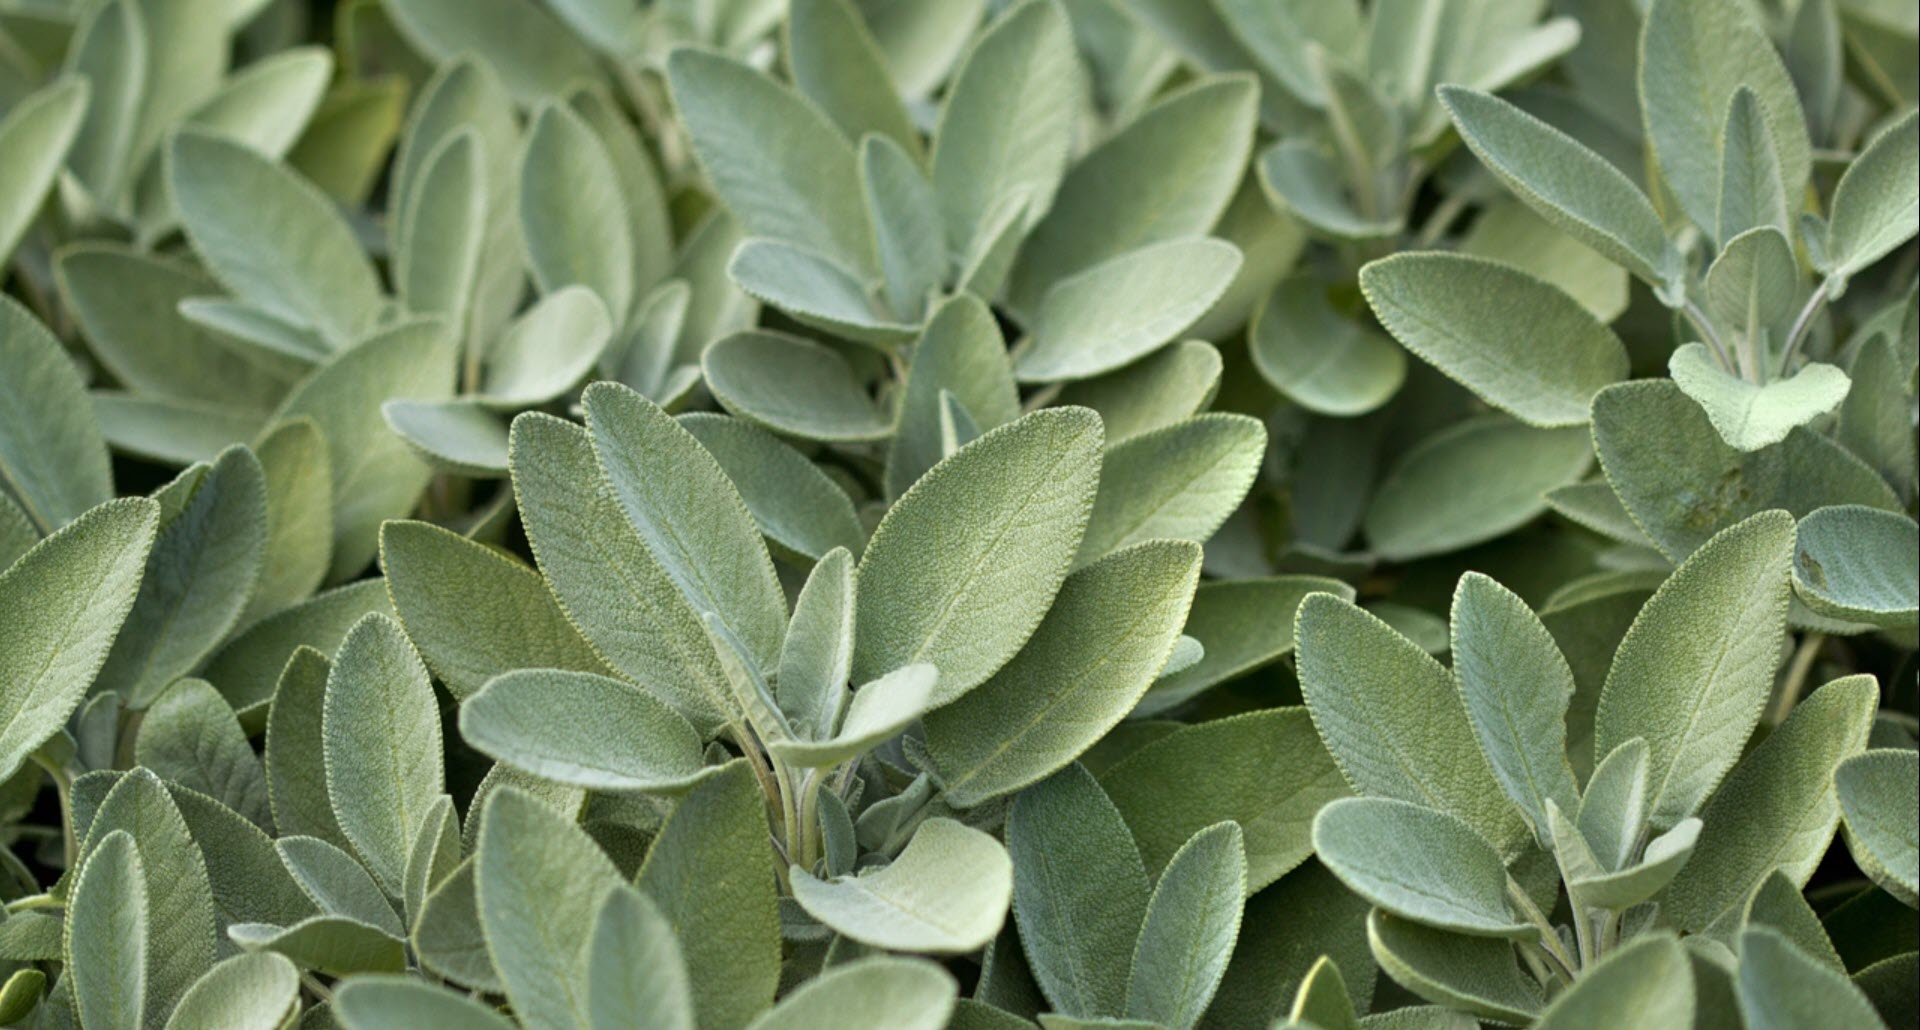
Due to its strong flavor, sage is considered as one of the staple herbs in Western cuisine. To fully extract its aroma, some stir fry this herb prior to cooking. Others prefer to mix it in sauces, marinades, bread, and meat. In Italy, sage is commonly added in pasta and pizza sauces.
With all these culinary benefits that sage brings, it truly is a nice to grow one in your garden to make the herb more accessible. However, there are some instances where sage fails to perform appropriately including not growing the desired size of leaves.
Fortunately for you, we have listed below some of the possible reasons why such a growing problem happens and some tips on how to deal with it.
Some of the most common reasons your sage plant is growing small leaves are pest infestations, parched soil, nutrient deficiencies, significant changes in weather, or other growing problems and diseases such as mint rust, powdery mildew, slugs, or crown gall.

Causes of small sage leaves
- Pest infestations
What to look out for:
Thin, yellow leaves; damaged stems
What to do:
If you are wondering why your sage plant is not producing any bigger leaves, you might want to check it for signs of pest infestations. When these pests, particularly aphids and thrips, feed on your sage plant, they suck out all the fluids and nutrients. As a result, your sage lacks essential nutrients, therefore produces smaller leaves.
To prevent this, you may opt to apply some organic pesticides so you get rid of the pests but at the same time not kill your entire plant with harsh chemicals.
- Parched soil
What to look out for:
Brittle soil surface; thin leaves
What to do:
Although sage is considerably a heat-resistant herb, leaving your soil too dried up can also largely affect the leaf production of your sage plant. To fix this, see to it that you water your sage when the soil is already dry to touch, but make sure not to pour the water directly onto the plant but rather onto the soil so the water will be quickly absorbed by the plant’s roots to help with the nourishment and production of larger leaves.
- Nutrient deficiencies
What to look out for:
Small, thin leaves; wilted stems; dry roots; leaf discoloration
What to do:
Any kinds of plants, sage included, will definitely produce smaller leaves if they lack in essential nutrients. So, to avoid this from happening any further, make sure that your sage plant receives the ample amount of nutrients that it needs. To be able to determine the type of nutrient that your sage specifically needs, you can run a soil test with a home test kit which is conveniently available in most garden boutiques and shops.
- Significant changes in weather
What to look out for:
Wilted leaves, frost bites
What to do:
Sage does not particularly thrive well during the cold season and extremely low temperatures can cause falling off of existing leaves as well as prohibiting new growth. When the plant is grown in an unlikely weather condition, it can hinder its entire growth which can result in production of smaller and thinner leaves, as well as weaker and skinnier stems.
Other growing problems and diseases
Have you noticed other unusual growing problems in your sage aside from producing smaller leaves? If your answer is yes, you might want to take some time familiarizing yourself with other problems, pests, and diseases that may damage your sage plant as it grows. Along with these are the solutions that you can apply to avoid further damages and actually save your plant.
- Mint rust
Mint rust is a fungal disease that is usually identified as small, dusty bumps typically located on the underside of the leaves and the color may vary between bright orange, yellow, and brown. You will also notice that the new foliages have faded colors and deformed shape. When not prevented, mint rust rapidly spreads from one leaf to another, to the extent of damaging other plants as well.
To avoid further damage, remove infected leaves off of the plant and apply heat treatment to the roots by submerging them in hot water at 44°C, preferably for about 10 minutes. Afterwards, cool it down using cold water and then start replanting.
- Powdery mildew
Powdery mildew is one of the common diseases in most plants that usually appear as the temperature rises during the early spring. Initially, powdery mildew manifests signs like dusty white spots on the surface of the leaves. As the fungal disease worsens, the fungi will entirely cover the leaf which will then result in leaf drop and distort new growth. When left untreated, this may eventually lead to your plant’s death.
After removing all the infected leaves, it is important that you provide the rest of the plant with good air circulation as well as sufficient sunlight and good soil drainage. Proper pruning can also help avoid powdery mildew from damaging your sage.
- Slugs
You can easily recognize if slugs have been feasting on your sage plants if you see slimy silver trails on the surface of the sage leaves and there are persistent irregularly shaped holes, clearly indicating that pests have been feeding on your sage.
Compared to other pests and insects feeding on sage plants, slugs are relatively easier to get rid of. You can simply take them out using your hands, set up traps. You can either create a small pond-like area around your sage plants to drown the slugs, or you some abrasive barriers that will tear their skin.
- Crown gall
Crown gall in Sage is a disease caused by Agrobacterium tumefaciens that pass through the wounds in the roots or stems that causes plant tissues to grow disorientedly, causing galls or swelling. Crown galls are initially light in color; as it worsens, it turns darker and bigger. This bacterial disease may be soft, hard, or spongy and when left untreated it can cause the stems of the sage to dry out and eventually kill the entire plant.
In order to avoid your sage from getting the crown galls, avoid wounding your plant so the bacteria will not have the opportunity to enter through it. It will also be helpful if you plant your sage in a well-draining soil.
Tips on growing sage properly
Now that you fairly have an idea of what possible pests, insects, and other diseases can destroy your sage, it is essential that you know what are the things that you should do in order to avoid such damages from happening. Here are a few tips that will definitely come in handy when you finally start growing sage.
- Regularly water your sage until they reach full maturity.
During its early growing stage, sage would require a consistently moist soil so make sure that you regularly water it until it reaches full maturity. When it has fully grown, you can somehow lay off on your regular water supply and just water your sage when the soil is already dry to touch.
If it happens that you are on the wetter side of the Earth, you may not need to water your sage anymore and just rely on rainfall. Afterall, sage is considerably a drought tolerant herb.
- Sufficient sunlight makes your sage healthier.
As a sun-loving plant, sage prefers to receive full sun everyday, although it can also tolerate partial sun exposure especially in warmer areas.
Inadequate sun exposure may cause your sage to be leggy in its attempt to catch more sunlight. So, make sure that you grow it in a well lit area or any area in your garden where it can receive direct and full sunlight. If you are growing your sage indoors, it is better that you place it near the windows where sunlight can pass through. You can also set up a fluorescent light 2-4 inches directly above the plant.
- Prune older stems
To encourage more growth, make it a habit to prune about a third of the older and woody stems ideally in spring. Apart from this, pruning will also help improve the air circulation within the plant, especially for the older leaves at the base, which can help minimize the chances of powdery mildew.
- Companion planting
If you are planning on adding more crops in your garden whilst growing your sage, you have to know which plants are safe to be planted alongside sage and which ones aren’t. For instance, carrots, brassicas, tomatoes, and strawberries are good insect and pest repellents so they are ideal companion plants for your sage. If you want to improve the quality and taste of your sage, you can plant rosemary alongside it.
On the other hand, here are some of the plants that you should not consider as companion plants: Alliums, cucumbers, fennel, wormwood, and rue.
- Allocate enough space for multiple sage plants
If you are growing more than 1 sage plant, you may want to allocate ample space between each of them, preferably 18 to 24 inches apart since this kind of herb has a tendency to become bushy.
Benefits of sage leaves
Aside from adding eucalyptus-like flavor and aroma to most mediterranean dishes, sage leaves are also believed to be providing some health benefits.
- Sage is traditionally used as a natural remedy to diabetes as it helps regularize blood sugar levels.
- Due to its estrogen-like properties, sage can also be a good medication to ease menopause symptoms such as hot flashes, vaginal irritability, and excessive sweating.
- Consuming sage on a regular basis is a good way to flush out toxins out of your body, thus lowers the risk of possible chronic diseases.
- Sage contains plenty of essential nutrients and vitamins that a human body needs on a daily basis. Some of these are Vitamin K, Calcium, Iron, Protein, and Vitamin B6.
- Sage also helps lower bad cholesterol, while increasing good cholesterol level.


