
Are you thinking of having steak for tonight’s dinner? Don’t forget to garnish it with some fresh dills for added spice and lemon-like taste.
Dill is a very flavorful herb that magically turns any soup, dish, or dips to taste so heavenly. Aside from its leaves and stems, the seeds of the dill is also used in many culinary purposes such as in breads, pickles, salads, etc.
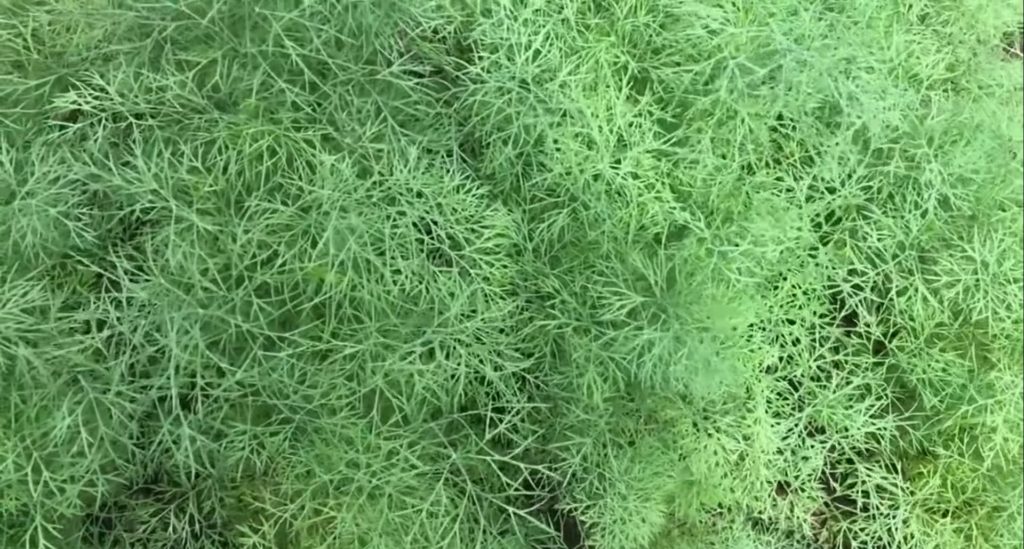
If you have your own dill plant, the better! But, wait, do you know how to properly harvest it without killing the plant? If your answer is no, don’t worry because harvesting dill is not that complicated and any amateur gardener will easily get the hang of it.
Plants That Grow Near Dill

Growing Conditions
Dill is not only a good use for plenty of dishes, soups, stews, dips, and salads but it is also known to be very beneficial in the garden. Aside from the fact that it attracts valuable insects that improve your garden, it is also easy to grow and maintain so beginner gardeners will easily get the hang of growing dill in their garden.
You can grow dill both in the garden or in a container indoors. Whichever method you prefer, take note of these growing conditions that you need to consider when growing dill.
- Weather Conditions
If you are growing dill in warmer areas, you can start growing dill during the autumn and winter, meanwhile it’s best to plant dill before the last hard frost in relatively cooler areas. Dill can tolerate temperatures as low as 25 degrees F but the soil needs to be to be warmer at 70 degrees F.
- Sun Exposure
Make sure that your dill receives enough sunlight, preferably full sun for at least 8 hours a day. Dill can tolerate partial sun, however do not expect the plant to be as bushy. If you are growing your dill indoors, it is better that you place it near the window so an adequate amount of sunlight can still pass through.
- Soil Requirements
Plant your dill in a sandy or loamy, well-drained, rich in organic matter, and slightly acidic to neutral soil that has a pH between 5.5 and 6.5. It is also important to maintain the temperature of the soil to 70 degrees F.
- Watering
During the first phase of growing dill, you need to establish first an even and regular watering schedule, however, as the plant grows, dill prefers less frequent water supply so you might want to prolong your watering schedule until the soil is dry to touch. However, do not let the soil be completely dried or else your plant will die. Similarly, be cautious as well not to overwater your plant. Just about an inch to 2 of water will be enough.
- Spacing
Dill tends to be very bushy, so unless you want to make a mess out of your garden or you want to give yourself a hard time during the harvest period, you need to plant the dills about 12 to 18 inches apart and the spacing rows 2 to 3 feet apart. If you are growing in a container, choose the one that is at least 12 inches deep and apply the similar rule in spacing.
- Companion Planting
Dill attracts bees and other beneficial insects so there are plenty of plants that you could plant together with dill like cabbage, sunflower, lettuce, radish, cucumbers, eggplants, etc. Some say that tomato is also a good companion plant of dill, however, the latter also attracts hornworms that destroy tomatoes.
Avoid planting dill near carrots, coriander, and cilantro as they are prone to cross-pollination.
Harvest Period
From the time of planting, it typically takes 70 days before the foliage reaches full maturity and 90 days for the seeds. However, as soon as the plant grows 4 or 5 leaves, you can already begin with the harvest.
Process Of Harvesting
Dill almost share the same harvesting process with other kinds of herbs. However, unlike other herbs that can only be harvested at a specific period of time, dill can be conveniently pruned anytime during the growing season. Interestingly, dill can already be harvested as soon as it already grows about 4 or 5 leaves.
Here are the steps that you should follow when making your first harvest of dill without killing the entire plant.
- When harvesting dill, work your way from the top to stimulate growth and for the plant to flourish. Picking leaves from the top of the plant will encourage it to grow outwards rather than upwards.
- Since dill has relatively softer stems, using a pair of garden shears will no be necessary. You can just simply snap the leaves off of the branches using your bare hands. Just be careful not to tug the stems too roughly to avoid the plant from being damaged.
- One of the best things about dill is that it does not bother being pruned or harvested all throughout the season. For as long as the plants have green and growing leaves, you can enjoy as many dill leaves as you want.
- However, if you intend to harvest in rather larger amounts, you might want to wait until the plant has fully matured which typically takes 8 weeks from the time of germination.
- To make sure that your dill continues to thrive even after the harvest, be cautious not to harvest more than ⅓ of the plant. Cutting more than the recommended amount will cause your dill to wilt.
- Another way to prevent the plant from dying is to get rid of the budding flower just before it blooms and seeds by either pinching or cutting it off. The plant will most likely die if you let the plant go to seed.
Storing And Using
Dill is commonly made into pickles but due to its minty aroma with sweet and slightly bitter taste, it would also be a garnish or added spice to your steak, grilled salmon, and many others. It will definitely be a waste if you just let all of its flavor fade by not knowing how to properly store it. So, these are the methods that you can do to help preserve the dill’s flavor and prolong its shelf life.
A. Freeze the dill
- After washing the dill, pat it dry using a clean cloth or paper towel. Make sure that the dill is completely dry and no moisture is retained.
- Remove any visible brown leaves but keep the whole stem intact as chopping it will lessen its flavor.
- Put the dill in a ziplock bag or airtight container. Squeeze out any extra air before sealing the container.
- Keep the dill in the freezer. This method could prolong the shelf life of the dill from 6 to 12 months.
- When you are ready to use the frozen dill, just simply toss in the heated pot or oven; no need to defrost it beforehand. However, if you intend to use it for a non-cooked meal, say a salad, let it sit first at room temperature to thaw.
B. Put the dill in a jar
- Quickly rinse the dill to remove any dirt or pests but do not leave it soaking as this may remove some of the flavor.
- Cut the bottom part of the stems using a knife or a pair of scissors. This will keep your dill fresh for a longer period of time especially when soaked in water.
- Get a medium sized jar and fill it with just about an inch of water.
- Put the dill inside the jar, making sure that the cut portion of the stems are touching the water.
- Cover the jar with a lid or a plastic bag to keep the oxygen from coming in and out of the jar. Too much oxygen can brown the leaves of the dill. If you are using a plastic bag, use a rubber band to securely tighten the cover.
- Keep the jar in the refrigerator, preferably in the door compartment. The relatively warm temperature of this place is just enough so your dill won’t get too cold and dry out as fast.
- Change the water every 2 to 3 days to keep it fresh and clean. Your dill should last up to 3 weeks if you use this method.
C. Dry the dill
There are 3 common ways to dry the dill and preserve its flavors. These are as follows:
- Hanging the dill dry. Hang a bundle of dill upside down in a warm, dar, and dry place with good ventilation for about 1 to 2 weeks.
- Using a food dehydrator. Set the food dehydrator to 95 °F and dehydrate the dill for a minimum of 4 hours or until the leaves have completely dried.
- Drying dill in the oven. Lay flat the dill on the baking pan and set the oven to the lowest temperature. Bake the dill for roughly 40 minutes, but check every 5 minutes to avoid it from being burned.


